Death Penalty Experiment Danger Tier List
Rank every wheel outcome by how fast it kills and how much skill can still save you.
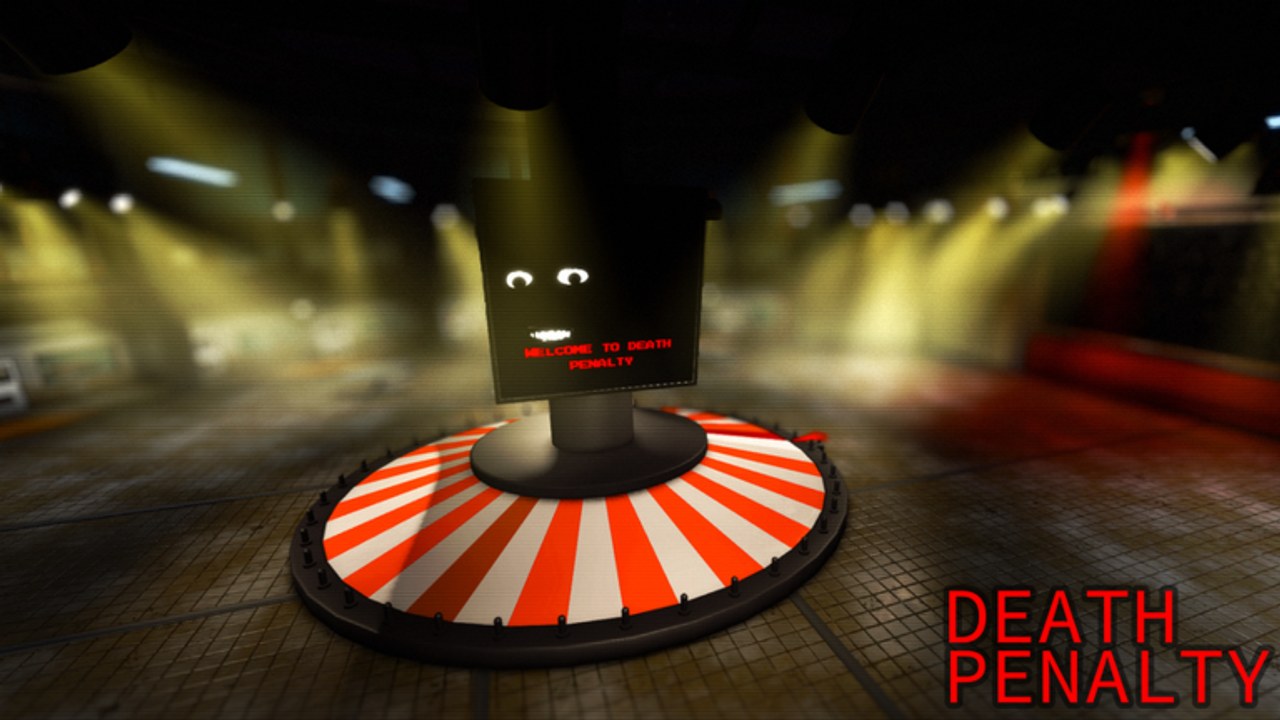
Death Penalty is a last-inmate-standing Roblox remake of the social-experiment formula: the wheel picks a trial, someone usually dies, and the lobby shrinks until a final Showdown. This page ranks experiments by danger—a mix of raw lethality, RNG weight, and skill ceiling—so you know when to lean in, hide, talk, or Force. Pair it with All Experiments, How to Survive, and the item economy on the Collar & Item Tier List.
How we tier: S means high impact with a real skill or social ceiling. High RNG lethals sit near the top of threat even when skill is low. Panic / avoid experiments are ones that delete you with little agency once you are trapped. Tiers can shift with lobby size—Massacre in a 40-player server is a different animal than Duel in the final eight.
S Tier — Skill ceiling experiments
These are the modes where practice actually rewrites your odds.
Duel — S
Two subjects teleport into a tank, get duel revolvers, and wait for red to green. First clean shot after green wins; both refusing to shoot usually means both die; early spam is punished with delay (or worse, depending on patch wording). Why S: One death is guaranteed, but a sharp player converts a 50/50 into a farm. Counterplay: Eyes on the light, finger ready, never ego-shoot early. If you consistently win, Force Duel is one of the best Volt spends—details on Duel and Volts and Boosts.
Simon Says — S
Follow only commands that start with “Simon says” (line, table, crouch, jump, and bait lines without the prefix). The finale is almost always “kill someone” without Simon—guns appear, and firing is a trap that executes you instead. Why S: Can wipe a huge chunk of a full lobby when people panic. Counterplay: Move only on true Simon lines; when guns drop, do not shoot. Drill the pattern list on Simon Says.
Showdown / Chaos — S
Showdown locks in when two survivors remain: weapon roulette (knife, revolver, pistol, rifle), lights drop, fight until one stands. Chaos is the multi-player cousin—everyone armed, last one alive. Why S: Highest skill expression in the endgame; Chaos can also be Force-bought at a steep Volt cost. Counterplay: Learn map cover, sound, and headshot windows; do not Force Chaos into a packed mid-game lobby unless you want a highlight or a funeral.
A Tier — High RNG lethals
Low agency, high delete rate. Survive by not being selected—or by owning Immunity style protection from the collar tier list.
Random Execution — A (threat)
Classic opening spin: wheel lands on a name, that subject dies. No button to mash. Why dangerous: Pure lottery, often early. Counterplay: Immunity Collar value spikes here; otherwise accept variance and play the next round cleaner. Catalog notes live in All Experiments.
Five Buttons — A (threat)
Button Russian roulette. Subjects press among five pads; one is lethal. Safe presses continue the chain until someone dies or all safe pads are cleared. Timing out can also kill. Why dangerous: Skill barely applies once you are on the pad. Counterplay: Do not volunteer energy into this force; if picked, commit quickly—hesitation still kills.
Dropper — A when targeted
One chosen Dropper must pick another subject to kill on the traps; fail the timer and the Dropper dies instead. Why dangerous: Social + RNG hybrid—if the Dropper hates you, you are gone. Counterplay: Stay off drama lists; if you are Dropper, decide early so you do not self-eliminate.
B Tier — Social experiments
Your mouth and reputation matter as much as your aim.
Favorites — B
Three candidates; the lobby votes who to save; lowest support dies (ties and no-votes still produce a death). Why B: Readable and influencable. Counterplay: Be useful in co-op moments earlier, spam a clear save pitch, and vote blocs with allies. Quiet loners get sniped.
Split or Steal — B
Prisoner’s dilemma pair: both Split = both live; one Steal = Split dies and Stealer may get a disposable revolver; both Steal = both die. Counterplay: Read prior betrayals. Unknown pubs often Steal—mirror only when you accept the mutual-death risk.
Last Pick — B
Chain nominations after a wheel start; the person never picked is executed (timer fails can scramble outcomes). Counterplay: Nominate neutrals, not your protectors; stay visible enough to enter the chain if you are at risk of being last.
Also watch Linked (chain partners share death risk until late breaks) and Handout (one-shot revolver politics)—full write-ups on All Experiments.
C Tier — Controllable chaos
Dangerous, but positioning and map knowledge still matter.
- Murderer: One knife user in red lights. Hide deep, break line of sight, do not cluster. Murderer is not always forced to farm kills—use that uncertainty.
- Finders Keepers: Weapon spawns in rooms; first competent looter becomes the problem. Learn desk and drawer spots.
- Challenge: Blue pad = skip; orange = obby. First clearer lives (and may earn a disposable revolver); nobody finishes = all challengers die. Only step orange if you trust your parkour.
- Revive: Brings a ghost back—threat depends on who returns. Not a direct kill mode, but it rewrites late odds.
D Tier — Avoid / panic when trapped
Timebomb — D for holders
Hot potato TNT for about 30 seconds. Holding it at detonation kills you. Counterplay: Pass early to contested players; never pocket the bomb in a corner “to be funny.” If it is on you with no neighbors, you are already in panic tier.
Murderer / Massacre — D when the lobby turns
Massacre rolls a body count and deletes that many names. Little counterplay beyond Immunity and prayer. Murderer spikes to D if you spawn in the open or got marked as easy prey.
Water Tank — D if sealed inside
Three subjects in the tank while outsiders stomp pads to raise water past the line. Counterplay: If outside, decide whether drowning that trio helps you; if inside, you need the lobby to refuse the stomp—talk fast or accept the drowning.
How to use this list in a live match
- Hear the announcer → glance this tier or the Experiment Reference.
- Skill S modes: play aggressive and confident.
- RNG A modes: minimize profile, lean on Immunity, do not Force them.
- Social B modes: talk, vote, manage reputation.
- Panic D modes: move first, argue second, spend Volts only if a Force truly ejects you from the trap.
Keep the Survival Checklist open for pre-match habits, browse the Tier List Hub for collar spends, and drill individual modes via Duel, Simon Says, and How to Survive. The wheel stays cruel—your prep does not have to be.
Frequently Asked Questions
Quick answers for Death Penalty survivors.
Why is Duel S tier if it always kills someone?
Because the death is contestable. Strong reaction players turn a coin flip into a reliable elimination tool, especially when they Force the mode.
Should I Force Chaos every time I can afford it?
Usually no. Chaos is a high-skill brawl that can erase you in a full lobby. Save it for small survivor counts or highlight runs.
What is the single best counter to Random Execution?
An Immunity Collar or similar random-death protection. There is no skill expression once your name is locked.
Where are full rules for every experiment?
Use All Experiments for deep rules and the Experiment Reference tool for one-line tips during a live spin.